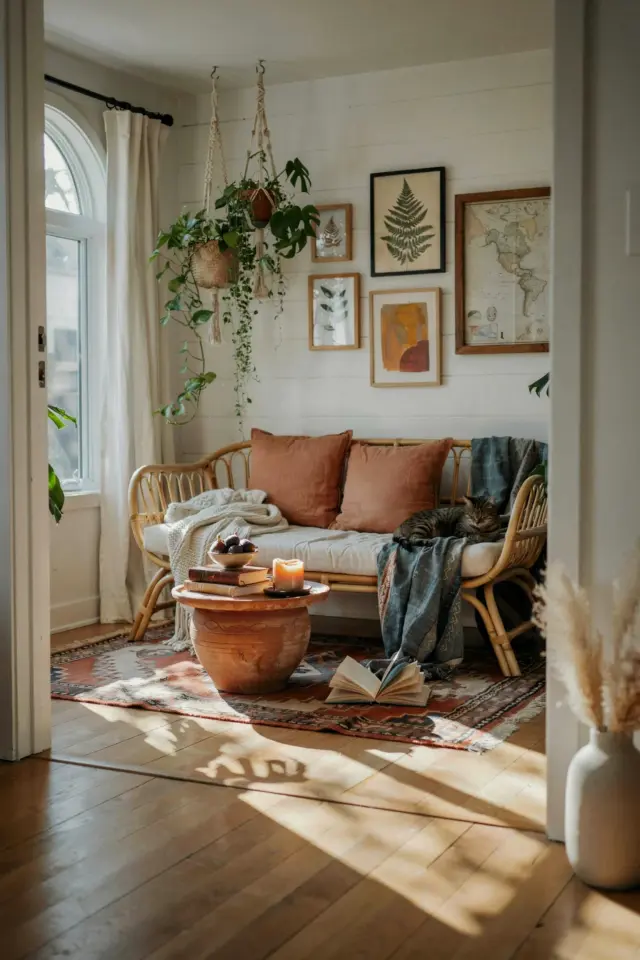
If you have been scrolling through home decor accounts, you have probably noticed wooden floating shelves everywhere. They add instant farmhouse charm without taking up floor space. I installed a set in my own living room last weekend, and the whole process took less than two hours. You do not need any prior experience with power tools. In this guide, I will walk you through exactly how to install wooden floating shelves in your farmhouse living room, step by step.
Choosing the Right Wood for Your Floating Shelves
Farmhouse style usually calls for reclaimed or distressed wood, but you can also use new lumber and stain it yourself. I recommend pine or poplar for a budget-friendly option. Oak is harder and more expensive, but it lasts forever. If you want a rustic look without the work, buy pre-cut shelf boards from a home improvement store. Just make sure the wood is at least 1 inch thick so the shelf feels sturdy. Anything thinner might warp over time.
For a true farmhouse feel, look for boards with visible knots and grain. You can even sand the edges slightly to soften them. Do not worry if the wood is not perfectly straight. A little character makes the shelf look handmade.
Tools and Materials You Will Need (Beginner Checklist)
Before you start, gather everything in one place. This saves you from running back and forth to the garage. Here is exactly what I used for my project:
- Wood shelf board (cut to your desired length)
- Floating shelf bracket kit (usually includes brackets, screws, and anchors)
- Stud finder (a simple magnetic one works fine)
- Spirit level (at least 24 inches long)
- Drill with drill bits and screwdriver bits
- Pencil for marking
- Measuring tape
Most floating shelf kits come with clear instructions. If you buy a generic brand, check that the brackets are rated for the weight you plan to put on the shelf. I use mine to hold books and small plants, so standard brackets work well.
Finding Studs in Your Wall (No Guessing Allowed)
This is the part that scares beginners, but it is actually simple. Floating shelves need to be attached to wall studs to hold weight. Drywall anchors can work for light items, but I always recommend stud mounting for farmhouse shelves because they tend to hold heavier decor. Use a stud finder and slide it slowly across the wall. When it beeps, mark the spot. Studs are usually spaced 16 inches apart, so you can measure from the first mark to find the next one.
If you cannot find a stud where you want the shelf, you can use heavy-duty toggle bolts instead. They spread the load across the drywall. But for a true farmhouse look with chunky wood, stud mounting is safer. Double check with a small nail before drilling. A hollow sound means no stud.
How to Level Your Brackets Correctly
Leveling is the step that separates a professional look from a crooked mess. Start by holding one bracket against the wall at your desired height. Use your spirit level to make it perfectly horizontal. Mark the screw holes with a pencil. Then do the same for the second bracket. The most common mistake is forgetting to measure the distance between brackets. Your shelf board needs to sit evenly on both, so measure the board length first and space the brackets so the shelf overhangs equally on both ends.
I like to draw a light pencil line across the wall at bracket height. Then I mark each screw hole inside that line. Drill pilot holes for the screws to prevent the wood from splitting. Screw the brackets into the studs firmly. If you hit a stud, the screw will go in tight without stripping.
Attaching the Shelf Without Visible Hardware
Now comes the satisfying part. Most floating shelf brackets have a metal bar or flange that slides into a slot cut into the back of the shelf. Or the shelf itself has a pre-drilled hole that fits over the bracket. Place the shelf onto the brackets and push it back until it is flush against the wall. It should feel snug. If it wiggles, tighten the bracket screws a bit more.
For a seamless look, use wood filler on any screw heads that are visible on the top of the shelf. Let it dry, then sand it smooth. You can also paint or stain the shelf after installation, but I prefer to stain the wood before mounting so I do not accidentally drip on the wall. Either way works, just tape off the wall if you stain after.
Styling Your Farmhouse Floating Shelves for Maximum Impact
Once the shelves are up, the real fun starts. Farmhouse decor loves natural textures. Place a stack of linen napkins, a small potted fern, and a ceramic pitcher on the shelf. Mix in a few leather-bound books or a wooden sign. Keep items in odd numbers for visual balance. Do not overcrowd the shelf. Leave some breathing room so each piece stands out.
If you install these shelves in a kitchen or bathroom, use them for practical storage like jars or toiletries. In a living room, they are perfect for family photos and trailing plants. The beauty of farmhouse style is that it looks cozy even when functional. Just avoid plastics or bright neons. Stick to wood, metal, and muted colors.
Common Mistakes Beginners Make (And How to Avoid Them)
I made a few errors on my first set, so let me save you the trouble. One big mistake is not checking the wall for pipes or wires before drilling. A cheap stud finder with a wire detection feature is worth the extra few dollars. Another mistake is using a level that is too short. A 6-inch level can trick you into thinking the shelf is straight when it actually dips across the length. Always use a level that is at least as long as the shelf is wide.
Also, remember that farmhouse shelves look best when they are slightly thick. Do not skimp on board depth. A 2-inch thick board feels substantial and rustic. And finally, take your time with the measuring. Rushing leads to uneven spacing or a shelf that tilts forward. Measure twice, drill once.
Installing wooden floating shelves in a farmhouse living room is one of the most rewarding DIY projects for a beginner. You get an instant storage solution that also becomes a focal point. The whole process takes a weekend afternoon, and the results last for years. Next time you need a quick decor update, grab a board and some brackets. You can handle it.
#farmhousedecor #floatingshelves #diyhomedecor #rusticshelving #farmhouselivingroom
Leave a Comment