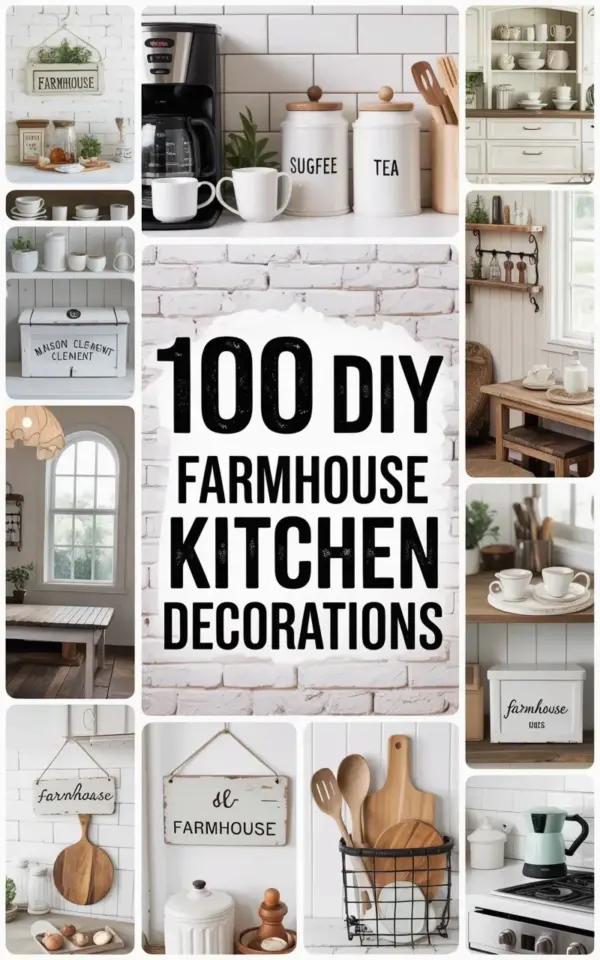
You just pinned that grid, the one with the white brick wall and the black distressed lettering that says 100 DIY Farmhouse Kitchen Decorations. I know exactly what you’re thinking: can I really make all that? Yes, but only if you stop buying premade stuff and start looking at scrap wood, old jars, and thrifted trays like they’re gold. The biggest farmhouse kitchen DIY mistake I see everywhere is people ordering a $60 sign on Etsy when they could build a whole coffee station for half that.
Not gonna lie, I’ve spent way too much on decor before. My first farmhouse kitchen looked like a catalog had a baby with a craft store. It was cute, sure, but it had zero personality. Then I started making things myself, and everything changed. That grid of twelve smaller images isn’t a shopping list. It’s a challenge.
Why Buying Premade Kills the Farmhouse Vibe
Here’s the thing. A farmhouse kitchen should feel like it grew there, not like it was shipped from a warehouse. When you buy premade, you’re also buying someone else’s idea of perfect. The proportions are always a little off, the finish is too uniform, and it doesn’t fit your actual wall or your actual counter space.
Making your own farmhouse decor lets you cheat the system. You can use free pallet wood, leftover paint, and jars you were about to recycle. You can also fix mistakes as you go. A wrong nail hole is just character, not a return request.
How to Build Your Own Coffee Station From Scraps
Let’s talk about that white coffee station in the center of the collage, the one with the coffee maker and the mugs hanging underneath. That’s the project people are most scared of, but it’s honestly just a box with a shelf. You don’t need a full workshop. A circular saw, a drill, and a level will get you through it.
Start with a piece of 3/4 inch plywood. Cut a back panel, two side panels, and two shelves. For the top, use an old piece of trim or a stained 1×4 to give it contrast. Assemble the frame with wood screws, then mount it to the wall studs. If the bottom shelf is for mugs, add a small towel bar or a dowel instead of a solid shelf. Instant charm.
Label Canisters Like a Pro Without a Cricut
Those white ceramic canisters that say SUGAR, COFFEE, and TEA? You can do that with a vinyl cutter, but you can also do it with a printer, some clear packing tape, and a steady hand. Or even with a permanent marker and a stencil. I’ve done it in a pinch, and it looks just as good from the counter.
Print the labels in a chunky serif font, then trace them onto a piece of vinyl with transfer tape. Or, if you want zero equipment, use a chalk marker and write directly on the glass. The trick is to use a font that looks slightly distressed, vintage style, so any wobble just looks intentional.
Cheap Open Shelving That Looks Custom
The open shelving in the collage, the one with white dishes and wooden utensils, is another easy win. Buy two steel shelf brackets from the hardware store, then cut a pine board to fit your space. Stain it dark or paint it white, then mount it using wall anchors. That’s it. I did this in my own kitchen for under $20, and it held our heaviest stoneware for years.
One warning: don’t glaze over the wall mounting. Stud finders are cheap, use one. Drywall anchors work for light dishes, but if you’re storing cast iron, hit a stud or add a false front bracket. You don’t want your coffee mugs crashing down at 6 a.m.
The Bread Box Trick and Other Small Wins
That white bread box in the bottom corner? It’s probably just a wooden crate flipped on its side with a curtain rod and a piece of linen. You can
Leave a Comment