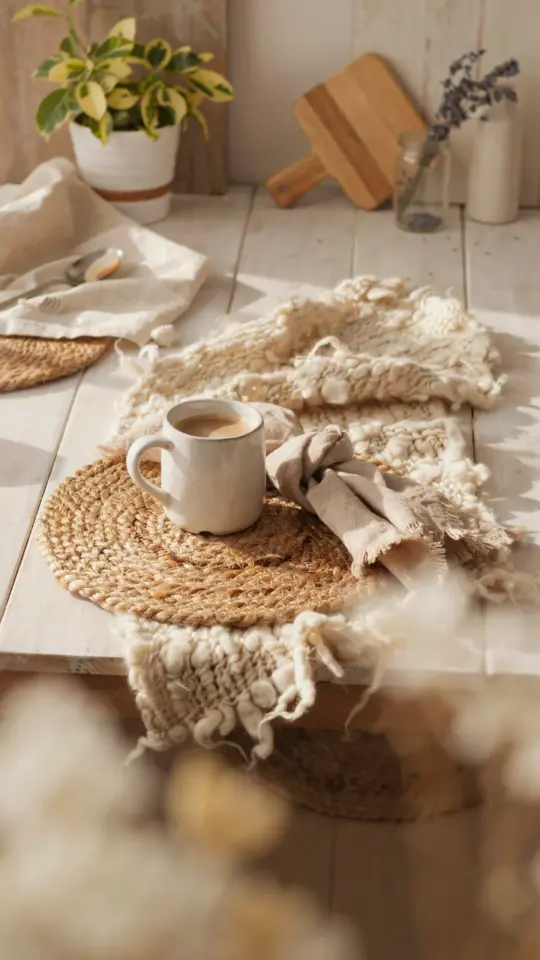
Last spring I found myself standing in the kitchen supply aisle, frustrated that every store-bought placemat looked either too modern or too flimsy. I wanted something with texture, something that felt warm and handmade without costing a fortune. That is when I stumbled onto an idea that turned into both a DIY farmhouse placemat and wall decor for my kitchen. It was one of those rare projects that actually delivered on being both practical and beautiful, and I have been making them ever since for gifts and for my own home.
Why This Project Works for Both Placemats and Wall Art
The beauty of this craft is its flexibility. You complete the same basic woven piece, and then decide whether it lives on your table or your wall. I personally love having matching options: I made two identical pieces, one now sits under a hot casserole dish and the other hangs near my sink as a small art piece. Because the texture is visually interesting from both flat and vertical angles, nothing feels out of place.
This approach saves time and material. You are essentially getting two decor items out of one set of steps. Plus, if you change your mind later, you can easily convert a placemat into wall decor (or vice versa) without any additional work.
Choosing the Right Base Materials for a Rustic Look
After several trial runs, I settled on a simple material list that gives that worn-in farmhouse feel without looking cheap. Here is what worked best for me:
- Cotton clothesline rope (3/8 inch diameter) – the natural color mimics old grain sack texture
- Jute twine – a rougher accent that adds depth and catches light differently
- A cardboard loom cut from a shipping box – free and completely adequate for small projects
- Wooden dowel (1/2 inch thick) – only needed if you plan to make wall decor
- Hot glue gun with low-temperature glue sticks – holds tightly but doesn’t burn the rope
I found the cotton rope at a local hardware store for about $3 per 50 feet. The jute twine cost even less. You really do not need fancy supplies. The imperfections in hand-cut cardboard and slightly uneven glue lines actually add to the rustic charm.
Step by Step: Creating the Textured Weave Pattern
I started by cutting a piece of cardboard about 12 inches by 18 inches. Then I snipped 1/2 inch slits along both short edges, spaced 1 inch apart. This becomes your simple loom. I wrapped the jute twine vertically through those slits to create the warp threads, making sure the tension was even but not tight enough to bend the cardboard.
For the weft, I cut the cotton rope into 24 inch lengths. Working from left to right, I wove each piece over and under the jute warp threads. I used fingers to push each row snugly against the previous one, leaving small gaps on purpose for a looser, more organic look. Every third row I added a thin strip of natural linen fabric that I had leftover from another project. That little change gave the piece a subtle stripe that breaks up the monotony.
When I reached the top, I simply cut the warp threads off the cardboard slits and tied each pair in a small knot to secure the weave. Trimming the tails to about an inch kept the edge looking intentionally frayed. This entire weaving process took me roughly 40 minutes per placemat.
How to Turn Your Craft into Wall Decor
Once the woven piece is finished, turning it into wall decor is almost too easy. I hot glued a wooden dowel across the top back edge, leaving about two inches of dowel sticking out on each side. Then I cut a piece of leftover jute twine, tied each end to the dowel ends, and hung it from a small hook. That is it.
If you prefer a cleaner look, you can also fold the top edge of the weave over a dowel and stitch it closed. I tried that method on my second piece and liked how the dowel became fully hidden inside the weave. The key is to
#DIY #FarmhouseDecor #Placemat #WallDecor #KitchenCraft
Leave a Comment